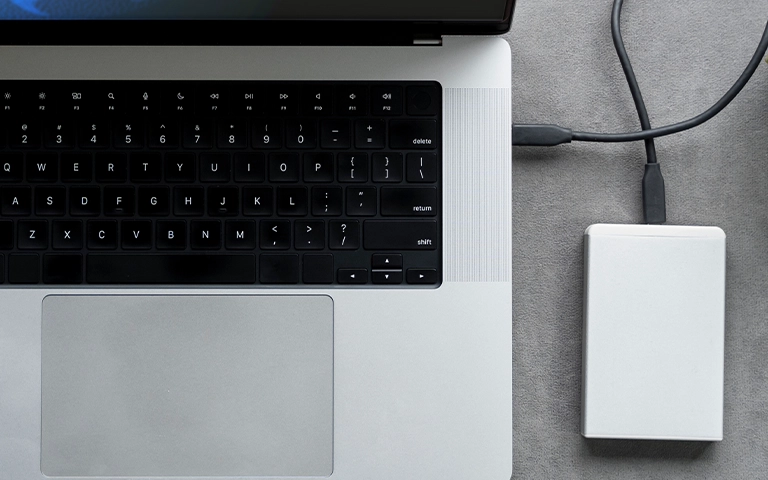
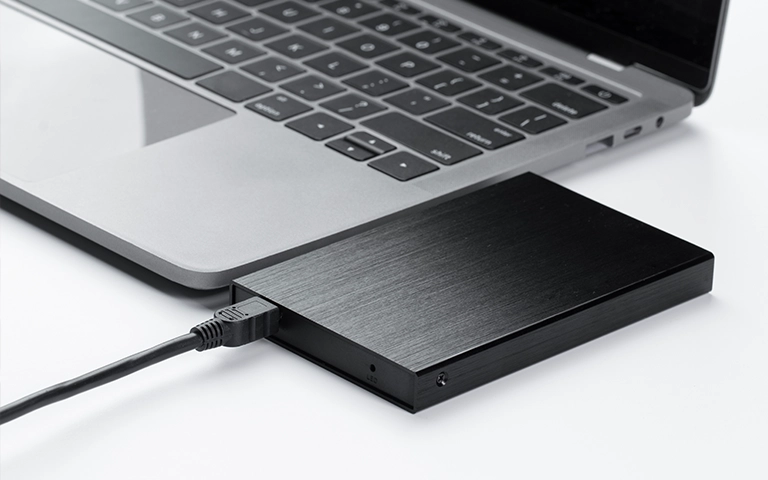
It’s frustrating when an external hard drive is not showing up on a Mac, especially if it holds important files, Time Machine backups, or creative projects. You plug it in using USB-C, Thunderbolt, or USB-A, expecting it to appear on the Desktop or in Finder, but nothing happens.
This sudden non-appearance can be worrying. The reason your Mac not recognizing external hard drive could be a simple setting or connection issue. Alternatively, it might indicate a more serious problem requiring expert attention. This guide provides safe steps to investigate causes and clarifies when professional data recovery is essential.
Initial Safe Checks for Your Mac
Before delving into macOS settings, let’s rule out basic physical connection problems. These are often the simplest fixes.
Check Physical Connections: Cables and Ports
A solid connection is key, especially with Thunderbolt and USB-C.
-
Check Cable: Ensure secure USB/Thunderbolt cable connection at both drive and Mac. Unplug and replug both ends. Inspect for damage.
-
Try Different Cable: Faulty cables are common. Test with another known-working, compatible cable.
-
Try Different Port: Connect to another Mac USB/Thunderbolt port. If using a hub/adapter, try direct connection. Some hubs/ports may not provide sufficient power/bandwidth.
Verify the Power Supply (If Applicable)
Most portable external drives and SSDs draw power from the Mac via the data cable. However, larger desktop external hard drives typically require their own power adapter.
- Check Power Adapter: If your drive has one, confirm it’s securely connected to the drive and a working power outlet. Check for any power indicator lights on the drive itself or its adapter.
- Test Outlet: Ensure the power outlet is functional by testing it with another device.
Test on a Different Computer (Mac or PC)
Connecting to another computer helps isolate the problem.
Connect Elsewhere: Plug external drive into a different computer.
Interpret Results: If drive appears on second computer, issue likely with original Mac’s settings, macOS, or ports. If external hard drive not detected on Mac or PC, problem almost certainly with the external drive itself (enclosure or internal mechanism).
Important: If basic checks fail, pause. Avoid software “fixes,” especially if drive made unusual noises or was dropped.
Why Is My External Hard Drive Not Showing Up on Mac?
An external hard drive not showing up on Mac often occurs due to: Finder preferences hiding external disks, faulty cables/ports, insufficient power, file system corruption (drive appears unmountable or RAW in Disk Utility), incompatible formatting (e.g., NTFS without write driver), or internal drive/enclosure hardware failure.
Checking the Drive's Status within macOS
If connections seem okay, use macOS tools to see how the system recognizes the drive. These steps are for diagnosis only; avoid risky repairs if data is critical.
Is the Drive Visible in Finder?
Finder is the first place to look. By default, connected drives should appear on the Desktop and/or in the Finder sidebar under “Locations.”
- Check Finder Preferences: Sometimes, the drive is connected and mounted, but Finder isn’t set to show it.
- Open Finder.
- Go to the “Finder” menu (top left) > “Preferences” (or “Settings” in newer macOS versions).
- Click the “General” tab. Ensure “External disks” is checked under “Show these items on the desktop.”
- Click the “Sidebar” tab. Ensure “External disks” is checked under “Locations.”
- If Still Not Visible: If these settings are correct and the drive still isn’t in Finder or on the Desktop, proceed to check Disk Utility.
Checking macOS Disk Utility
Disk Utility is a powerful tool that provides a deeper view of storage devices connected to your Mac.
How to Open Disk Utility
- Open Finder.
- Go to “Applications” > “Utilities.”
- Double-click “Disk Utility.” (Alternatively, use Spotlight search: Press Cmd + Space, type “Disk Utility,” and press Enter).
Interpreting Disk Utility Information
Look in Disk Utility’s left sidebar:
-
Drive Listed, Volume Mounted: (Not greyed out). Recognized and accessible. If not in Finder, re-check Finder Preferences.
-
Drive Listed, Volume Greyed Out (Not Mounted): Hardware detected, but macOS couldn’t mount volume (often corruption/format issue). Clicking “Mount” may work or fail with error. Do NOT Erase.
-
Drive Listed, But No Volume or Uninitialized: Hardware seen, but no recognizable partition/file system. Signals severe partition map issues/corruption. Do NOT click ‘Erase’ or ‘Partition’ if data needed.
-
Drive Not Listed AT ALL: (Ensure “View” > “Show All Devices” selected). Points to serious connection, power, enclosure, or internal drive hardware failure.
Checking System Information
System Information provides detailed hardware specs and connection status.
How to Open System Information
Click the Apple logo in the top-left corner.
Press and hold the Option (⌥) key.
Select “System Information…” from the menu.
Looking for the Drive in System Information
In the left pane, select “USB” (for USB drives) or “Thunderbolt / USB4” (for Thunderbolt/USB-C drives).
Look through the device tree for your external drive. If it’s listed, macOS recognizes the hardware connection. If not listed, it confirms a connection, power, or hardware detection issue.
- You can also check under “Storage” to see if the drive’s internal mechanism is listed, even if volumes aren’t mounting.
Common Reasons Your External Drive Isn't Detected on Mac
macOS Formatting Issues
macOS prefers specific formats like APFS (newer Macs) and HFS+ (Mac OS Extended). While it can read FAT32 and exFAT, and read NTFS, it cannot natively write to NTFS without third-party software. If the drive is formatted in a way macOS doesn’t fully support or if the format is corrupted, it might not mount or appear correctly.
File System Corruption
he drive’s file system (APFS, HFS+, etc.) can become corrupted due to improper ejection, sudden power loss during writes, software bugs, or failing hardware sectors. This often results in the drive being visible in Disk Utility but greyed out and unmountable.
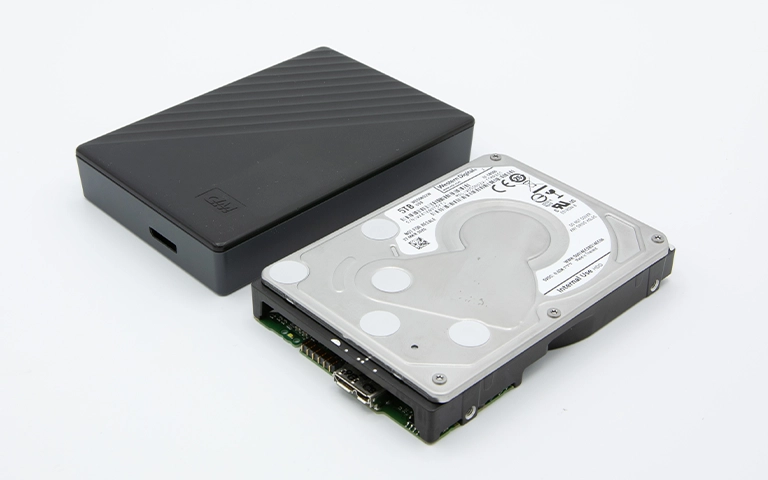
External Drive Hardware Failure
The physical drive itself can fail, regardless of the operating system.
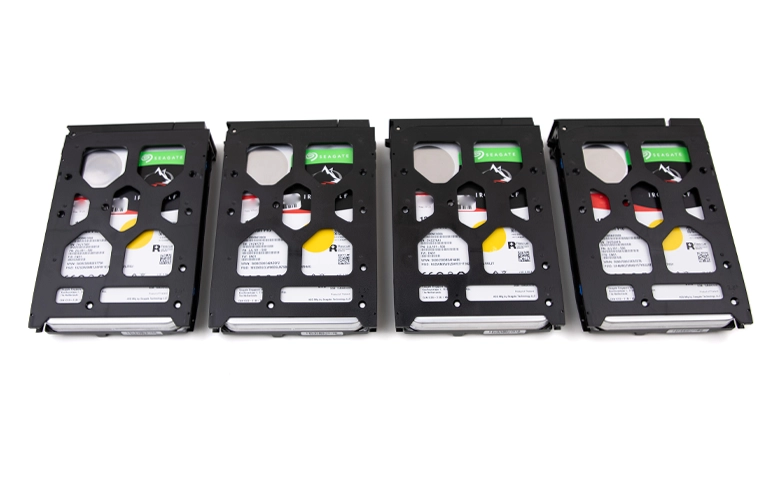
- HDDs: Clicking sounds, grinding, or failure to spin up indicate serious mechanical problems.
- SSDs:Failures often stem from controller chip malfunctions, NAND flash degradation, or firmware corruption—frequently resulting in the SSD being entirely undetectable or misidentified in Disk Utility. Learn more about these issues on our SSD Not Showing Up page.
Physical Damage
Dropping the drive, liquid spills, or electrical surges can damage the enclosure or the internal drive, preventing detection by your Mac.
Dangers of Using Common macOS "Fixes"
macOS offers tools that can seem like solutions but may permanently erase data on a faulty drive. Use extreme caution or avoid these if data recovery is your goal.
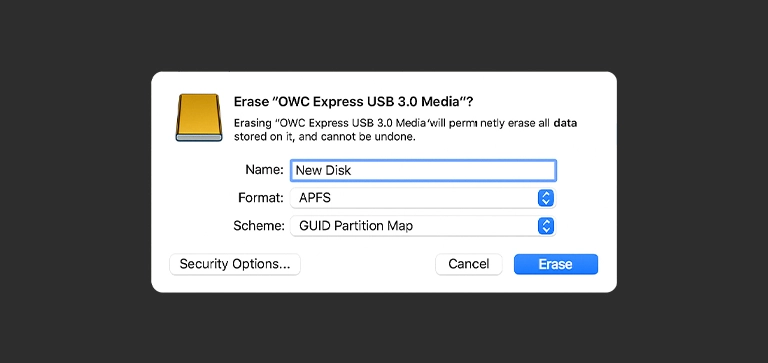
The Risk of Using 'Erase' in Disk Utility
“Erase” is Mac’s format function. If macOS prompts to initialize/fix, or you manually ‘Erase,’ it destroys file system/partition data. Never use ‘Erase’ on a drive with data you need.
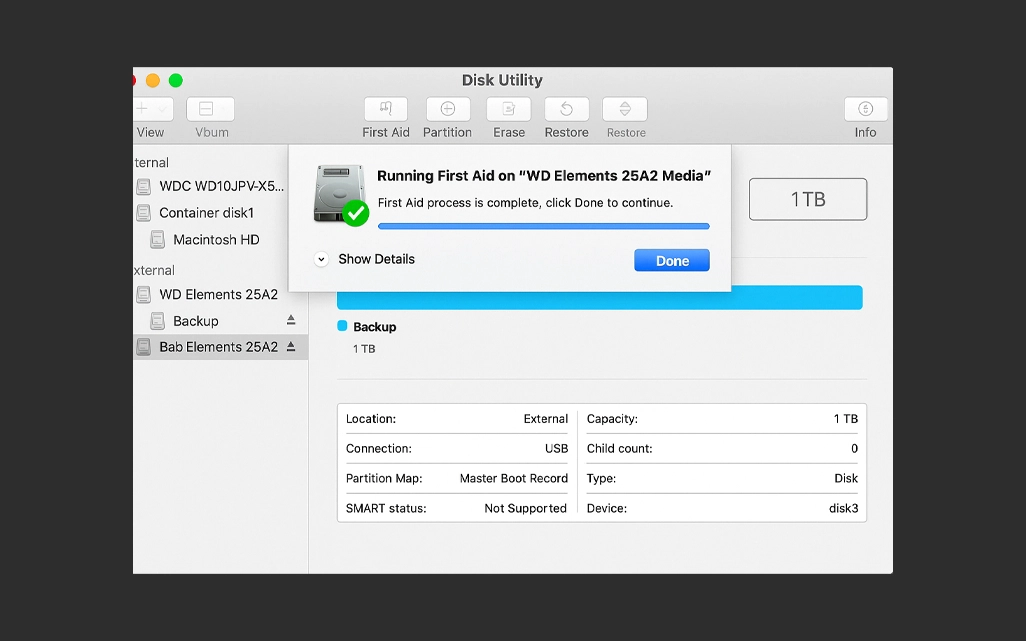
The Risk of Running 'First Aid'
Disk Utility’s “First Aid” attempts file system error repair. On healthy drives with minor logical issues, it can help. On drives with physical problems (failing heads, bad sectors) or severe corruption, it’s risky, forcing reads on damaged areas, potentially worsening physical damage or hanging. Use with extreme caution.
Attempting Terminal Commands without Expertise
Incorrect diskutil or other Terminal commands can easily cause accidental data erasure or corruption.
When Professional Data Recovery is Essential
Professional recovery is essential if your Mac not recognizing external hard drive involves physical noises (clicking, grinding), physical damage (drops, spills), if Disk Utility shows unmountable/uninitialized/RAW volumes with critical data, or if First Aid fails/worsens issues. It’s also needed if the drive is completely undetected by Disk Utility/System Information.
Strongly recommended if:
You hear physical noises.
Drive suffered physical damage.
Disk Utility shows unmountable, uninitialized, or RAW volumes.
Drive not listed AT ALL in Disk Utility/System Information.
First Aid fails or worsens problem.
Data is irreplaceable. See how our data recovery process works.
The PITS Data Recovery Professional Advantage
Trying to recover data from a failing drive on your Mac without professional tools carries significant risk. Here’s how PITS Data Recovery helps:
- Mac Expertise: We understand macOS file systems (APFS, HFS+) and common Mac hardware issues.
- Precise Diagnosis: We identify the exact cause of failure safely.
- Advanced Tools: We utilize specialized hardware and software designed for data recovery.
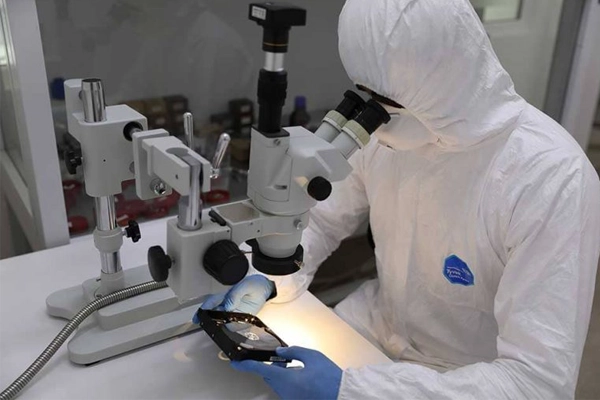
- Certified Cleanroom: Internal drive repairs (like head replacements) are performed in our ISO-certified cleanroom environment to prevent fatal contamination.
- Component-Level Repairs: We can fix damaged PCBs or replace mechanical parts.
- High Success Rates: Our experience and technology maximize the chances of recovering your Mac data.

Get a Free Consultation.
Our recovery experts are ready to assess your device and guide you through the safest path to recovery. Fill out the form to get started.
"*" indicates required fields
Recommended Actions If Your Mac Isn't Seeing Your Drive
Safely Eject/Disconnect: If possible, eject icon. Else, shut down Mac before disconnecting.
Leave it Off: Do not repeatedly connect.
Don’t Open It: Never open drive enclosure.
Avoid Risky Utilities: Do not use ‘Erase’. Use ‘First Aid’ very cautiously or not at all if hardware issues suspected. Avoid unknown Terminal commands.
Gather Details: Drive model, macOS version, pre-issue events.
Contact Mac Data Recovery Experts: Reach out to PITS Data Recovery.

DIY Recovery
Risks permanent data loss
Let the Specialists Handle It
DIY attempts often result in permanent data loss. Our certified recovery specialists use advanced tools in controlled environments for the highest success rate.

24/7 Emergency Service
Conclusion: Safely Addressing External Drive Issues on Your Mac
An external hard drive not showing up on Mac can disrupt work and risk data. Simple connection/Finder setting issues occur, but often it’s file system corruption, format problems, or hardware failure. Using Disk Utility’s ‘Erase’ or ‘First Aid’ carelessly leads to permanent data loss.
Protect important files. If basic checks fail or significant problems suspected , trust professionals. PITS Data Recovery offers specialized macOS expertise and secure facilities. If your Mac isn’t recognizing your external drive, contact us. Learn more about our external hard drive recovery services.